Prusa procedure
Video Instructions for Steps 1 - 10
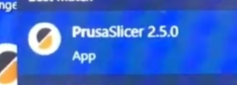
Step 1: Open PrusaSlicer
Step 2: Check configuration
Skip if already done; if not, choose Configuration, Configuration Wizard and follow this configuration walkthrough video.

Step 3: Check filament settings

For PETG filament, use these settings:
| First layer | Other layers | |
|---|---|---|
| Nozzle | 230 | 240 |
| Bed | 85 | 90 |
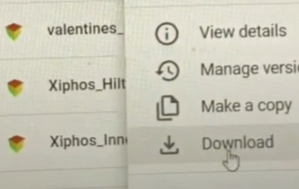
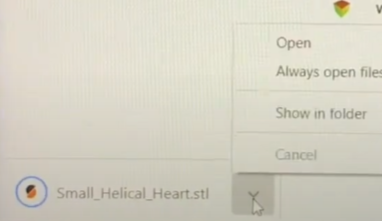
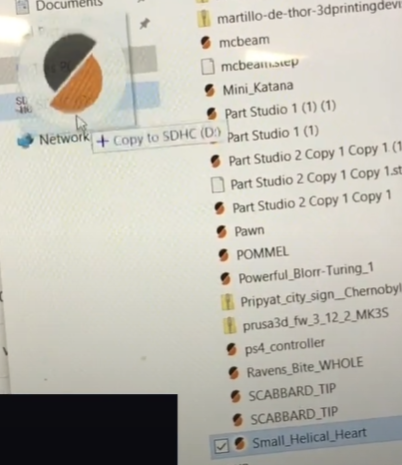
Step 4: Download STEP or STL file from Google Drive to SD card
(How to get STEP or STL file from Onshape onto Google Drive)
(A) Insert SD card from blue 'bucket'.
(B) Download from Recent Google Drive files.
(C) Click up arrow next to file and choose "Show in folder".
(D) Drag (copy) to the SDHC card.
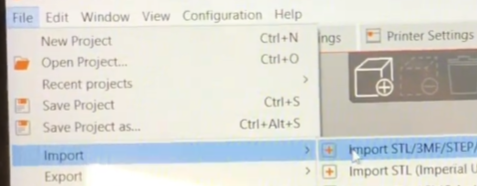
Step 5: Import STEP or STL file from SD card
File, Import, Import STL/3MF/STEP.

Step 6: Arrange object(s) and choose settings
Step 6 video instructions
Be sure to include supports "everywhere" if needed.
Step 7: Slice and check print statistics
Slice now.

Check to see if the print time and filament used are reasonable.
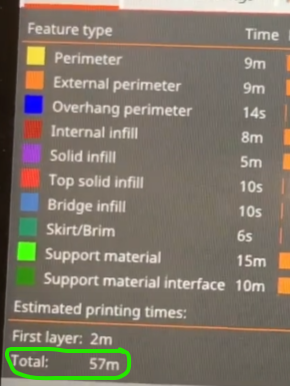
Print jobs that exceed 5 hours may be stopped early by an instructor or assistant lab manager and discarded unless prior approval is granted. Discuss with a teacher.
Step 8: Export to SD card and eject SD card

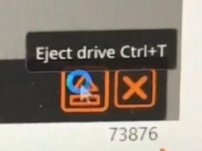
Slightly push SD card in and then remove.
Step 9: Select an available printer
Be sure the build plate is squarely on the machine.
Step 10: Insert SD card and begin print
Spin knob clockwise to point to your file.
Press the knob in to begin the print.
