Epilog Zing procedure
Step 1: Startup hardware
(A) Press power button on side of machine.

(B) Log into PLTW Laptop 31.
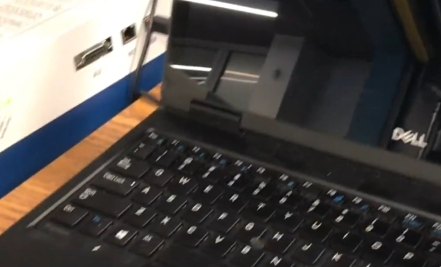
(C) Search for and open Adobe Illustrator.

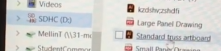
Step 2: Initialize artboard
(A) Load Standard artboard from SDHC card.
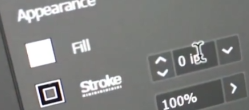
Step 3: Apply settings to drawing
Drag-select entire drawing and set Stroke to 0.00001.
Step 4: Select material
Use Ctrl-1 to compare actual drawing size to material size (Ctrl-0 goes back).

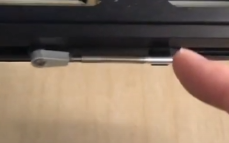
Step 5: Adjust material height
(A) Press the bed adjust button.

(B) Adjust bed up or down to create the "barely touching during swing" condition.

(C) Return focus arm to horizontal position.
Step 6: Set cutting parameters
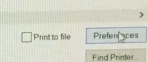
(A) Ctrl-P, Setup, Preferences.
(B) Set piece size.

(C) Set speed, power and frequency parameters.

| Wood | Cardboard | |
|---|---|---|
| Speed | 50 | 100 |
| Power | 100 | 50 |
| Freq. | 500 | 500 |
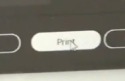
(D) OK, Print, Done.
Step 7: Adjust drawing placement
(A) Compare on-screen drawing placement to material placement.
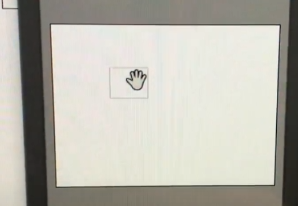
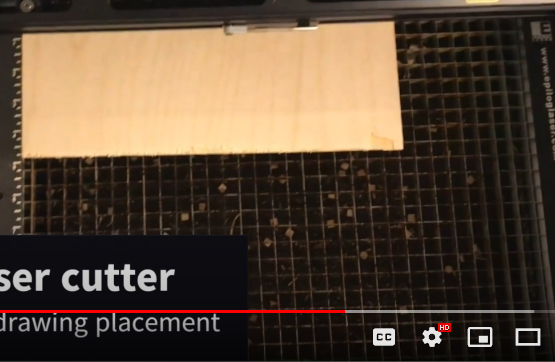
(B) If necessary, cancel and reposition drawing.
Step 8: Send print job
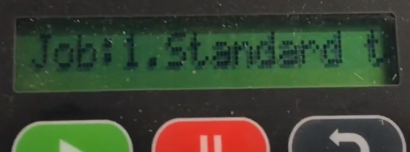
(A) Reset Epilog display, note any existing Job number and Print from Adobe.

(B) Be sure that the new Job has been transferred.
Step 9: Safely laser cut
(A) Close the Epilog 'lid'.
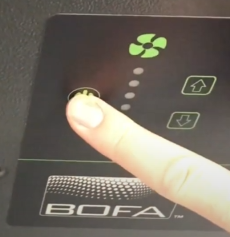
(B) Power ON the BOFA fume extraction unit.
(C) Wait five seconds and then press the Start button.
Step 10: Remove parts
(A) After laser cutting ends, wait five seconds.
(B) If this is your last cut, deactivate BOFA unit.
(C) Lift out the material 'surrounding' the cut pieces and place on side rack shelf.
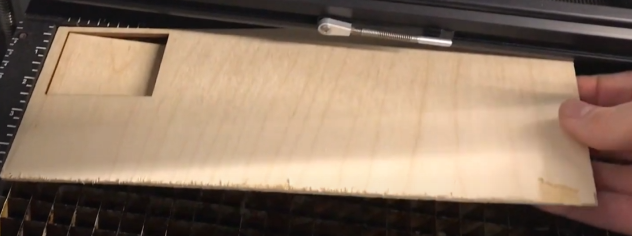
(D) Take out part.
